— redirect_from: “/How-to-create-a-DB-PR” —
<!DOCTYPE markdown> # How to create a DB PR via GitHub
This is a simplified guide to easily create PRs containing DB fixes (SQL code) without bothering with the terminal, an easier alternative to the [traditional way of creating PRs](https://www.azerothcore.org/wiki/how-to-create-a-pr). If you want to submit C++ or other non-SQL kind of fixes, please follow the other guide.
## Do only ONCE: create your AzerothCore fork
You need to be signed on [github.com](https://github.com/). If you don't have an account yet, create one.
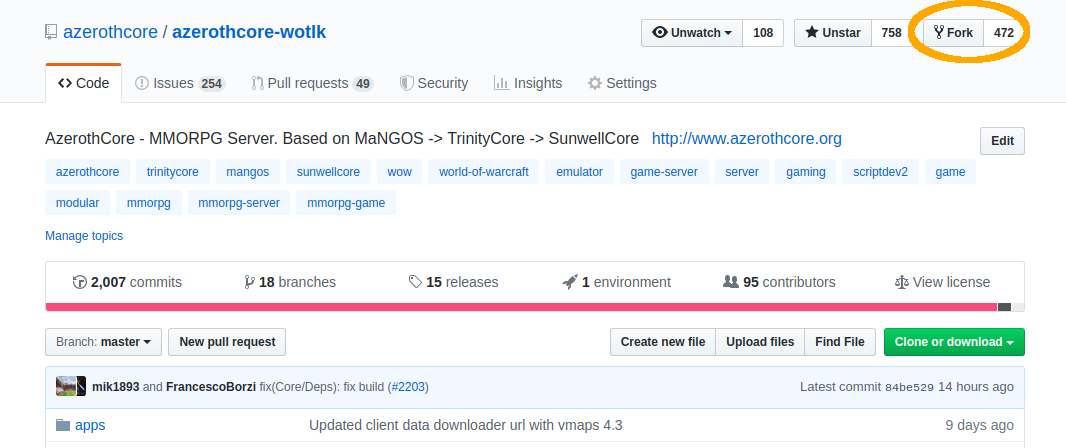
Open the [AzerothCore repository](https://github.com/azerothcore/azerothcore-wotlk) and create a fork of it by clicking in the top-right “Fork” button:
## Creating a new PR
### 1. Update your fork on GitHub
Open your browser and navigate to your fork on GitHub (change `YourUsername` with your actual GitHub username):
https://github.com/YourUsername/azerothcore-wotlk
If your `master` branch is not up to date with latest AzerothCore, you'll see something like:
`This branch is XX commits behind azerothcore:master`
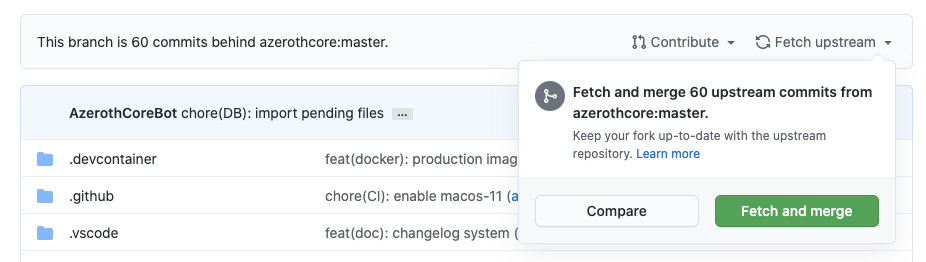
to update it, click on Fetch upstream and then Fetch and merge.
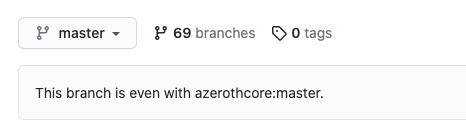
As a result, your fork's `master` branch should say:
`This branch is even with azerothcore:master`
### 2. Create a new branch
Make sure you have the `master` branch currently selected, click on the branches dropdown and create a new branch.

You can name your new branch the way you want (typically something related to your fix), just make sure you haven't used that name before and that you are creating the new branch by copying the master branch.
You should see a message like Create branch my-new-branch-123 from master.
After you create the new branch, make sure you keep that one selected.
### 3. Navigate to the pending_db_world folder
You now need to navigate inside the `data/sql/updates/pending_db_world` folder of your fork.
You can either do it manually by clicking on the `data` folder, then `sql`, `updates`, `pending_db_world`;
…or you can just open this URL (change `YourUsername` with your actual GitHub username):
### 4. Create and commit a new file
Back on GitHub, from the `pending_db_world` folder, click Add file and then Create new file:

Now you need to:
- Give the file any name with the file extension `.sql`. - Add a new line, then add your own SQL code below and then add a new empty line at the end of the file.

Now scroll down the page, you'll need to:
1. Fill out the commit message, we use the [Conventional Commits format](https://www.conventionalcommits.org/),
for example `fix(DB/Creature): some commit description here`.
2. Include some extra description (optional). 3. Make sure that “Commit directly to the `your-new-branch-name`” is selected. 4. Click Commit new file.

### 5. Open the PR
Go back to the [main AzerothCore repository](https://github.com/azerothcore/azerothcore-wotlk), you will notice that GitHub is smart enough to realize that you are about to open a PR and shows this nice light-yellow box:
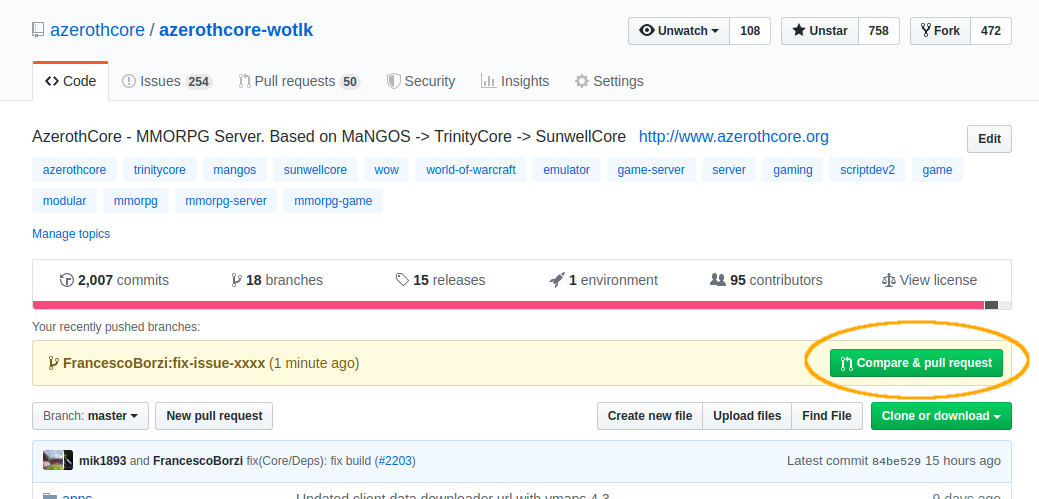
click on the “Compare & pull request” green button (located on the right).
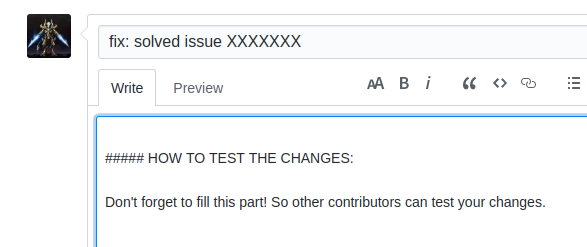
Now fill the PR template following the instructions that will appear in the screen, do not forget to add the testing instructions so people can be able to test your PR and it can be merged:
It's also a good practice to check the “File changes” tab to see that everything is in place as you expect:

{% include important.html content=“We do not respond well to leechers! If your fix comes from another organization or person you should ALWAYS give credit to the original author and commit!” %}
That's it!